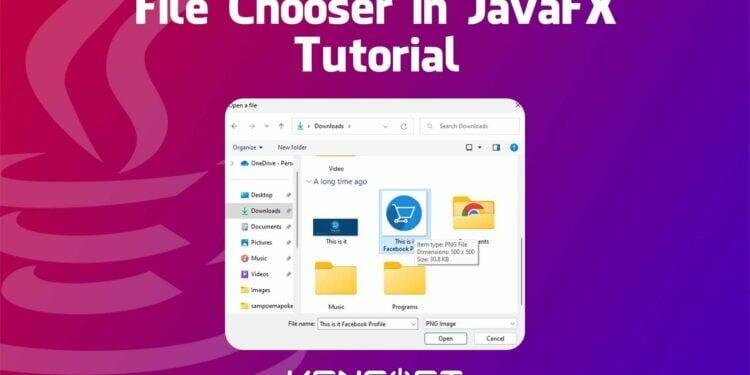
JavaFX is a popular user interface (UI) toolkit for developing cross-platform desktop applications. One of the most common tasks in desktop applications is allowing the user to select and manipulate files using the File Chooser in JavaFX. JavaFX provides a built-in file chooser dialog that makes it easy to allow the user to select files and directories. However, customizing the file chooser in JavaFX to suit your application’s needs can be a bit more challenging.
In this blog post, we will take a step-by-step approach to creating a file chooser in JavaFX. We will start by exploring the basics of the built-in file chooser and how to use it to open and save files. Then, we will dive deeper into customizing the file chooser to fit your application’s look and feel, including setting custom extension file filters. By the end of this guide, you will have a good understanding of how to create a custom file chooser in your JavaFX application.
How to use the File Chooser in JavaFX
The JavaFX file chooser dialog provides a simple way for users to select files and directories. It can be used to open files, save files, and select directories. The basic usage of the file chooser involves creating an instance of the FileChooser class, calling its showOpenDialog() or showSaveDialog() method to display the dialog, and then retrieving the selected file or directory.
Create the JavaFX FileChooser
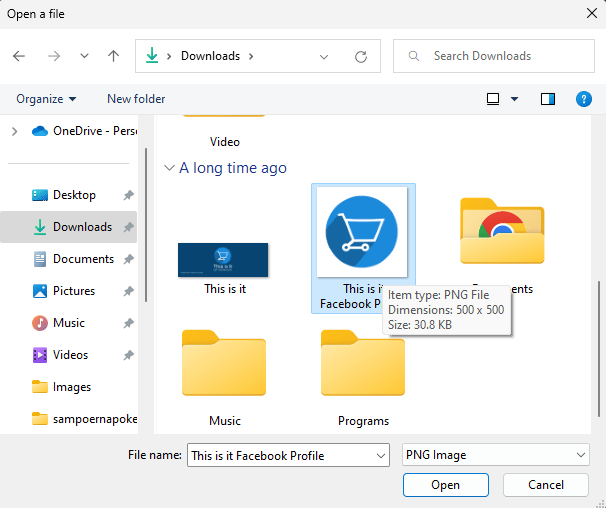
The first example we are going to do is to create the JavaFX FileChooser. As mentioned above, to create the FileChooser is to instantiate the FileChooser class. We then call the showOpenDialog() method, which displays the file chooser dialog and allows the user to select a file. If the user selects a file and clicks the “Open” button, the showOpenDialog() method returns the selected file as a File object. We can then use this object to perform some operations with the selected file. So, the following example below will show you how to create the File Chooser, and let’s assume that we are going to open a file.
FileChooser fileChooser = new FileChooser();
fileChooser.setTitle("Open a file");
File selectedFile = fileChooser.showSaveDialog(stage);
if (selectedFile != null) {
    // Do something with the selected file
}
Output
Customizing the File Chooser in JavaFX
In this example, you will know how to customize the JavaFX FileChooser. Customizing the JavaFX FileChooser is a great way to make the file selection process more user-friendly and tailored to your specific application. In addition to the basic functionality of selecting a file, you can customize the FileChooser to include options such as setting the initial directory, setting the dialog title, and creating custom extension file filters.
Here is an example code snippet that shows how to customize your File Chooser in JavaFX.
FileChooser fileChooser = new FileChooser();
fileChooser.setTitle("Open a file");
fileChooser.setInitialDirectory(new File(System.getProperty("user.home")+ "/Pictures"));
fileChooser.getExtensionFilters().addAll(new FileChooser.ExtensionFilter("JPEG Image","*.jpg"), new FileChooser.ExtensionFilter("PNG Image", "*.png"), new FileChooser.ExtensionFilter("All image files","*.jpg","*.png"));
File selectedFile = fileChooser.showOpenDialog(stage);
if(selectedFile != null){
    // Do something with the selected file
}
Setting the initial directory of the File Chooser in JavaFX is an important step to provide a better user experience. Setting the initial directory to a location that makes sense for the user can save them time and effort. Setting the dialog title is another way to customize the FileChooser. By default, the FileChooser will display a generic title such as “Open” or “Save” depending on the intended use. However, you can customize the title to better reflect the purpose of the file selection. You can set the title of the FileChooser using the setTitle() method.
Creating custom extension file filters is another way to customize the FileChooser. By default, the FileChooser will display all files and allow the user to select any file type. However, you may want to limit the user’s selection to specific file types. You can create a custom file filter using the ExtensionFilter class and add it to the FileChooser using the getExtensionFilters() method.
Save using the File Chooser in JavaFX
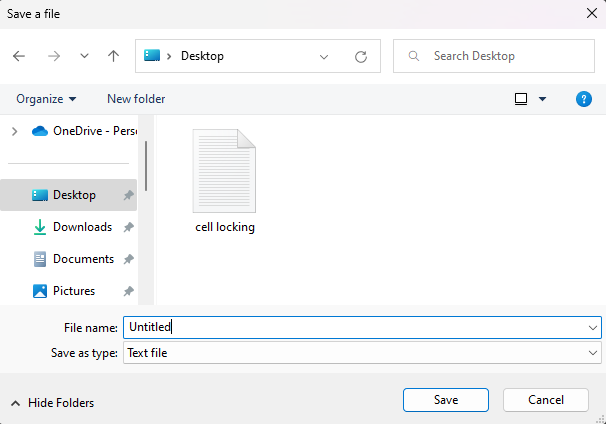
In the example, we will show you how to use the JavaFX FileChooser when saving a file. Since we are done doing the showOpenDialog() method for opening a file. In this case, we will now use the showSaveDialog() method for saving a file. The process of using the FileChooser to save a file is very similar to opening a file. The main difference is that instead of using the showOpenDialog() method, we will use the showSaveDialog() method to display the FileChooser dialog and allow the user to select a file for saving.
FileChooser fileChooser = new FileChooser();
fileChooser.setTitle("Save a file");
fileChooser.setInitialDirectory(new File(System.getProperty("user.home")+ "/Desktop"));
fileChooser.getExtensionFilters().add(new FileChooser.ExtensionFilter("Text file","*.txt"));
fileChooser.setInitialFileName("Untitled");
File selectedFile = fileChooser.showSaveDialog(stage);
if(selectedFile != null){

    try {
        FileWriter fileWriter = new FileWriter(selectedFile);
        BufferedWriter writer = new BufferedWriter(fileWriter);
        writer.write("Learning how to use the JavaFX FileChooser");
        writer.close();
        System.out.println("The file has been saved in "+ selectedFile.getAbsolutePath());
    } catch (IOException e) {
        throw new RuntimeException(e);
    }

}
Output
