
Discover how to effortlessly connect your JavaFX application to an API, fetching delightful dog images using Java and JSON.
Key Takeaways
- Learn to connect JavaFX applications to APIs.
- Utilize Maven for project setup and dependencies.
- Design GUI using Scene Builder.
- Fetch and display images from The Dog API using Java and JSON.
How to Connect to an API Using JavaFX
Hey there! Ever wondered how you can add a touch of the internet’s charm—like fetching dog images—right into your JavaFX application? Today, we’re going to explore how to connect to an API using JavaFX with a concrete example: The Dog API.
Before we dive in, kick back, relax, and maybe grab a cup of coffee. This tutorial is designed to be detailed, informative, and most importantly, fun! We’ll get started with building a JavaFX interface and then connect it to a web API. By the end, you’ll be able to fetch and display heartwarming dog images right in your JavaFX app.
Setting Up the JavaFX Project
First things first: you need to set up a JavaFX project. Here, I’ll walk you through setting up your IDE and project dependencies.
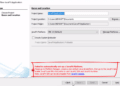
Step 1: Create a New Maven Project
Open your favorite IDE (like IntelliJ IDEA because I’m using IntelliJ), and create a new Maven project. Maven helps in managing the dependencies and makes things easier as your project grows.
Step 2: Add Dependencies
Inside your pom.xml file, add the following dependencies for JSONObject and okhttp (which we’ll use to make API calls):
<dependency>
    <groupId>com.squareup.okhttp3</groupId>
    <artifactId>okhttp</artifactId>
    <version>5.0.0-alpha.14</version>
</dependency>
<dependency>
    <groupId>org.json</groupId>
    <artifactId>json</artifactId>
    <version>20240303</version>
</dependency>
Make sure to refresh your Maven project to download these dependencies.
Creating the GUI with Scene Builder
Now, let’s create a simple GUI using JavaFX and Scene Builder. This interface will consist of a button to fetch the data and an image view to display the fetched image.
Step 1: Open Scene Builder
If you don’t have Scene Builder, download it from here. Open Scene Builder and create a new FXML file.
Step 2: Design Your Interface
- Layout: Use a
BorderPane. - VBox: Insert a
VBoxat the top. - Label and Button: Inside the
VBox, place aLabeland aButton. The label can have a text “Fetch Dog Image” and the button labeled simply as “Fetch”. - ImageView: Insert an
ImageViewin the center of theBorderPane.
Make sure to assign FX IDs and action events to the elements. For example:
- Assign
id=imageViewto theImageView - Set an
onActionattribute for the button to call a method in the controller, for example,btn.
Connecting to The Dog API
Now that our interface is ready, we can connect to The Dog API to fetch random dog images.
Step 1: Set Up the Controller
Create a new controller class for your FXML file. Let’s call it HelloController.
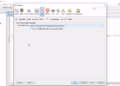
package com.kensoftph.javafxapi;

import javafx.event.ActionEvent;
import javafx.fxml.FXML;
import javafx.scene.image.Image;
import javafx.scene.image.ImageView;
import okhttp3.OkHttpClient;
import okhttp3.Request;
import okhttp3.Response;
import org.json.JSONObject;

import java.io.IOException;

public class HelloController {
    @FXML
    private ImageView imageView;

    @FXML
    private void btn(ActionEvent event){
        OkHttpClient client = new OkHttpClient();

        Request request = new Request.Builder()
                .url("https://dog.ceo/api/breeds/image/random")
                .build();

        try(Response response = client.newCall(request).execute()){
            String body = response.body().string();

            System.out.println(body);

            JSONObject jsonObject = new JSONObject(body);
            String imageURL = jsonObject.getString("message");

            Image image = new Image(imageURL);
            imageView.setImage(image);
            imageView.setFitWidth(image.getWidth());
            imageView.setFitHeight(image.getWidth());
        }catch (IOException e){
            e.printStackTrace();
        }
    }
}
Handling JSON Data
In this step, we parse the JSON data received from the API to extract the URL of the dog image.
- We’re using
org.json.JSONObjectto parse the JSON data. - We get the
messagefield from the JSON response, which contains the image URL.
Displaying the Fetched Image
To display the fetched image, we need to update the UI components from the main application thread to update the ImageView.
private void btn(ActionEvent event){
        OkHttpClient client = new OkHttpClient();

        Request request = new Request.Builder()
                .url("https://dog.ceo/api/breeds/image/random")
                .build();

        try(Response response = client.newCall(request).execute()){
            String body = response.body().string();

            System.out.println(body);

            JSONObject jsonObject = new JSONObject(body);
            String imageURL = jsonObject.getString("message");

            Image image = new Image(imageURL);
            imageView.setImage(image);
            imageView.setFitWidth(image.getWidth());
            imageView.setFitHeight(image.getWidth());
        }catch (IOException e){
            e.printStackTrace();
        }
    }
Final Touches
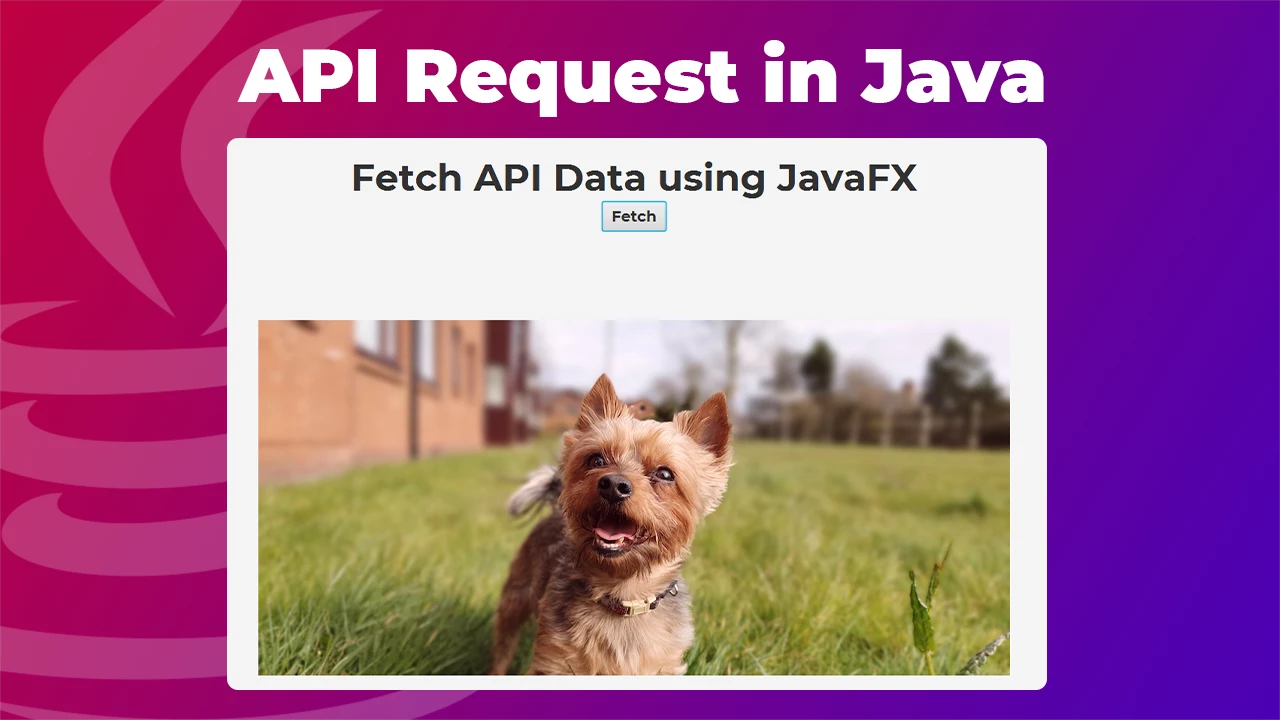
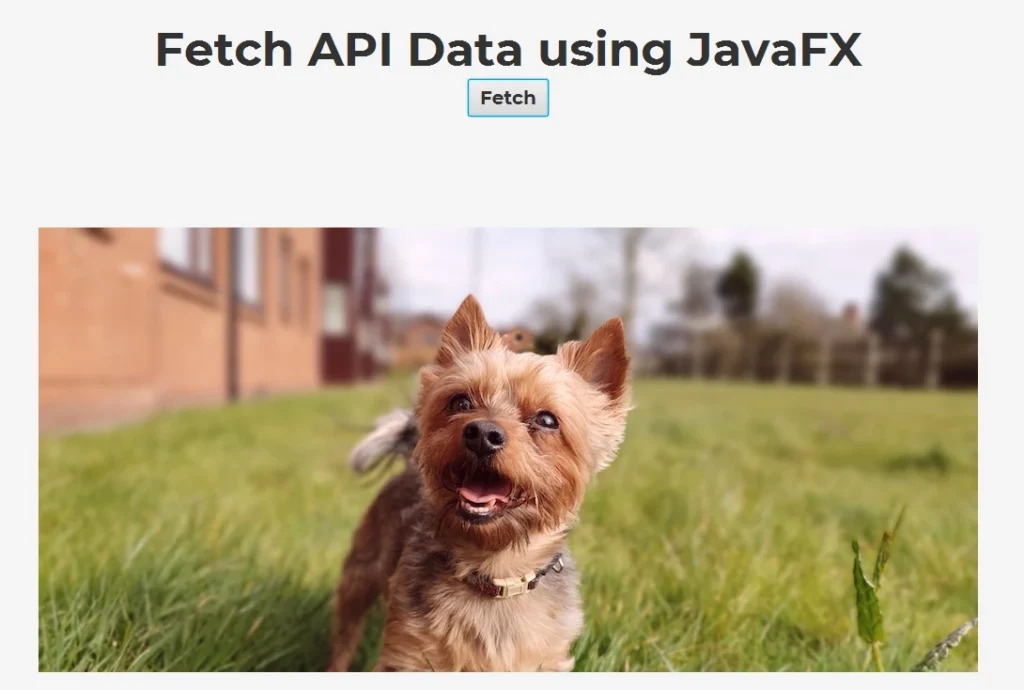
Now, let’s test our application. Run your JavaFX application, click the “Fetch” button, and you should see a random dog image appear!
Conclusion
And there you have it—a fully functioning JavaFX application that fetches and displays random dog images from The Dog API. Whether you’re building this as a fun side project or as part of a bigger application, understanding how to connect to an API using JavaFX is a valuable skill.
Feel free to add more features, like selecting different dog breeds or saving your favorite images. The possibilities are endless!
If you have any questions or run into issues, don’t hesitate to ask in the comments. I’d love to see what you build using this tutorial.
Your turn: Have you ever connected an API to a JavaFX application before? What challenges did you face, and how did you overcome them? Share your experiences in the comments below!
How to Connect JavaFX to an API
To connect JavaFX to an API, set up a Maven project with necessary dependencies, design your GUI using Scene Builder, and use the Java library OkHttp to fetch data. Display the fetched data in your application effortlessly.