JavaFX is a powerful framework for creating rich and interactive user interfaces in Java applications. One of the powerful features is the JavaFX MediaPlayer, which allows you to play multimedia content such as video and audio into your JavaFX applications. In this JavaFX MediaPlayer tutorial, we’re going to learn how to play a video in JavaFX MediaPlayer from a file. If you’re building a media player application or you just simply want to integrate a video playback into your JavaFX application project. Well, then this guide will walk you through the basic coding to start developing a very simple media player into your application using JavaFX.
What is JavaFX Media Player?
Before we dive into the JavaFX MediaPlayer code. The MediaPlayer class provides us with controlling for playing media files such as video and audio. Without the Media Class, we can’t play a video. The media class is also an important class to handle the media file to display in the MediaPlayer and so with the MediaView.
The MediaView is used to show visuals for the MediaPlayer class. So, all of the three classes will be used in developing the basic and simple media player in JavaFX application.
Since we have the full control with the Media player class, we can absolutely Play, Pause, Stop, Seek, AutoPlay, Mute and even adjust the Volume. So now, let’s continue on creating our project or simply implement this into your existing project.
Make sure to create a new JavaFX project or open an existing one in your favorite integrated development environment (IDE).
Importing the Required Packages
Please don’t forget to use the required module to work with the Media class in JavaFX if you’re using the Maven build. You need to import the necessary packages into your Java class. Include the following imports at the beginning of your Java file:
import javafx.application.Application;
import javafx.fxml.FXMLLoader;
import javafx.scene.Scene;
import javafx.stage.Stage;
These packages provide the essential classes and components for playing video using JavaFX.
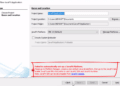
If you encounter problems during importing the packages if you’re using Maven. Make sure to download a dependency in your pom.xml file. Head over to the given dependency code below to learn more.
<dependencies>
        <dependency>
            <groupId>org.openjfx</groupId>
            <artifactId>javafx-controls</artifactId>
            <version>17.0.6</version>
        </dependency>
        <dependency>
            <groupId>org.openjfx</groupId>
            <artifactId>javafx-fxml</artifactId>
            <version>17.0.6</version>
        </dependency>
        <dependency>
            <groupId>org.openjfx</groupId>
            <artifactId>javafx-media</artifactId>
            <version>17.0.6</version>
        </dependency>
</dependencies>
After adding the dependencies, you also must require the modules at the module-info.java. Here’s the code.
module com.kensoftph.javafxmedia {
    requires javafx.controls;
    requires javafx.fxml;
    requires javafx.media;


    opens com.kensoftph.javafxmedia to javafx.fxml;
    exports com.kensoftph.javafxmedia;
}
Creating the JavaFX MediaPlayer
We have other ways to create an application in JavaFX but in this tutorial, I am using the SceneBuilder to create this basic and simple JavaFX MediaPlayer Application. Now, to create the GUI is very simple using the SceneBuilder. You just have to drag and drop the components like buttons, labels, layouts or the JavaFX controls to be general. The example FXML code is the FXML file of the GUI came from the SceneBuilder. Head over to the code below to learn more and you can also copy that code to your example project and see how it works.
FXML File
<?xml version="1.0" encoding="UTF-8"?>

<?import javafx.geometry.Insets?>
<?import javafx.scene.control.Button?>
<?import javafx.scene.control.Label?>
<?import javafx.scene.control.Slider?>
<?import javafx.scene.layout.BorderPane?>
<?import javafx.scene.layout.HBox?>
<?import javafx.scene.layout.VBox?>
<?import javafx.scene.media.MediaView?>


<BorderPane maxHeight="-Infinity" maxWidth="-Infinity" minHeight="-Infinity" minWidth="-Infinity" prefHeight="600.0" prefWidth="850.0" xmlns="http://javafx.com/javafx/18" xmlns:fx="http://javafx.com/fxml/1" fx:controller="com.kensoftph.javafxmedia.MediaPlayerController">
   <center>
      <MediaView fx:id="mediaView" fitHeight="200.0" fitWidth="200.0" BorderPane.alignment="BOTTOM_CENTER" />
   </center>
   <bottom>
      <VBox prefHeight="120.0" prefWidth="850.0" BorderPane.alignment="CENTER">
         <children>
            <HBox alignment="CENTER" prefHeight="43.0" prefWidth="850.0">
               <children>
                  <Slider fx:id="slider" onMousePressed="#sliderPressed" HBox.hgrow="ALWAYS" />
               </children>
               <padding>
                  <Insets left="15.0" right="15.0" />
               </padding>
            </HBox>
            <HBox alignment="CENTER" prefHeight="100.0" prefWidth="200.0" spacing="10.0">
               <children>
                  <Button mnemonicParsing="false" onAction="#selectMedia" text="Select Media" />
                  <Button fx:id="btnPlay" mnemonicParsing="false" onMouseClicked="#btnPlay" text="Play" />
                  <Button mnemonicParsing="false" onMouseClicked="#btnStop" text="Stop" />
                  <Label fx:id="lblDuration" text="Duration: 00 / 00" />
               </children>
            </HBox>
         </children>
      </VBox>
   </bottom>
</BorderPane>
FXML Controller
The following code will be the controller class for the FXML code.
import javafx.event.ActionEvent;
import javafx.fxml.FXML;
import javafx.scene.Scene;
import javafx.scene.control.Button;
import javafx.scene.control.Label;
import javafx.scene.control.Slider;
import javafx.scene.input.MouseEvent;
import javafx.scene.media.Media;
import javafx.scene.media.MediaPlayer;
import javafx.scene.media.MediaView;
import javafx.stage.FileChooser;
import javafx.util.Duration;

import java.io.File;

public class MediaPlayerController {

    @FXML
    private Button btnPlay;

    @FXML
    private Label lblDuration;

    @FXML
    private MediaView mediaView;
    @FXML
    private Slider slider;

    private Media media;
    private MediaPlayer mediaPlayer;

    private boolean isPlayed = false;

    @FXML
    void btnPlay(MouseEvent event) {
        if(!isPlayed){
            btnPlay.setText("Pause");
            mediaPlayer.play();
            isPlayed = true;
        }else {
            btnPlay.setText("Play");
            mediaPlayer.pause();
            isPlayed = false;
        }
    }

    @FXML
    void btnStop(MouseEvent event) {
        btnPlay.setText("Play");
        mediaPlayer.stop();
        isPlayed = false;
    }

    @FXML
    void selectMedia(ActionEvent event) {

        FileChooser fileChooser = new FileChooser();
        fileChooser.setTitle("Select Media");
        File selectedFile = fileChooser.showOpenDialog(null);

        if(selectedFile != null){
            String url = selectedFile.toURI().toString();

            media = new Media(url);
            mediaPlayer = new MediaPlayer(media);

            mediaView.setMediaPlayer(mediaPlayer);

            mediaPlayer.currentTimeProperty().addListener(((observableValue, oldValue, newValue) -> {
                slider.setValue(newValue.toSeconds());
                lblDuration.setText("Duration: " + (int)slider.getValue() + " / " + (int)media.getDuration().toSeconds());
            }));

            mediaPlayer.setOnReady(() ->{
                Duration totalDuration = media.getDuration();
                slider.setMax(totalDuration.toSeconds());
                lblDuration.setText("Duration: 00 / " + (int)media.getDuration().toSeconds());
            });

            Scene scene = mediaView.getScene();
            mediaView.fitWidthProperty().bind(scene.widthProperty());
            mediaView.fitHeightProperty().bind(scene.heightProperty());

            //mediaPlayer.setAutoPlay(true);

        }

    }

    @FXML
    private void sliderPressed(MouseEvent event){
        mediaPlayer.seek(Duration.seconds(slider.getValue()));
    }

}
Main class
import javafx.application.Application;
import javafx.fxml.FXMLLoader;
import javafx.scene.Scene;
import javafx.stage.Stage;

import java.io.IOException;

public class Main extends Application {
    @Override
    public void start(Stage stage) throws IOException {
        FXMLLoader fxmlLoader = new FXMLLoader(Main.class.getResource("media-player.fxml"));
        Scene scene = new Scene(fxmlLoader.load());
        stage.setTitle("JavaFX MediaPlayer!");
        stage.setScene(scene);
        stage.show();
    }

    public static void main(String[] args) {
        launch();
    }
}
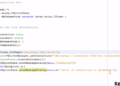
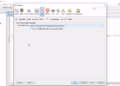
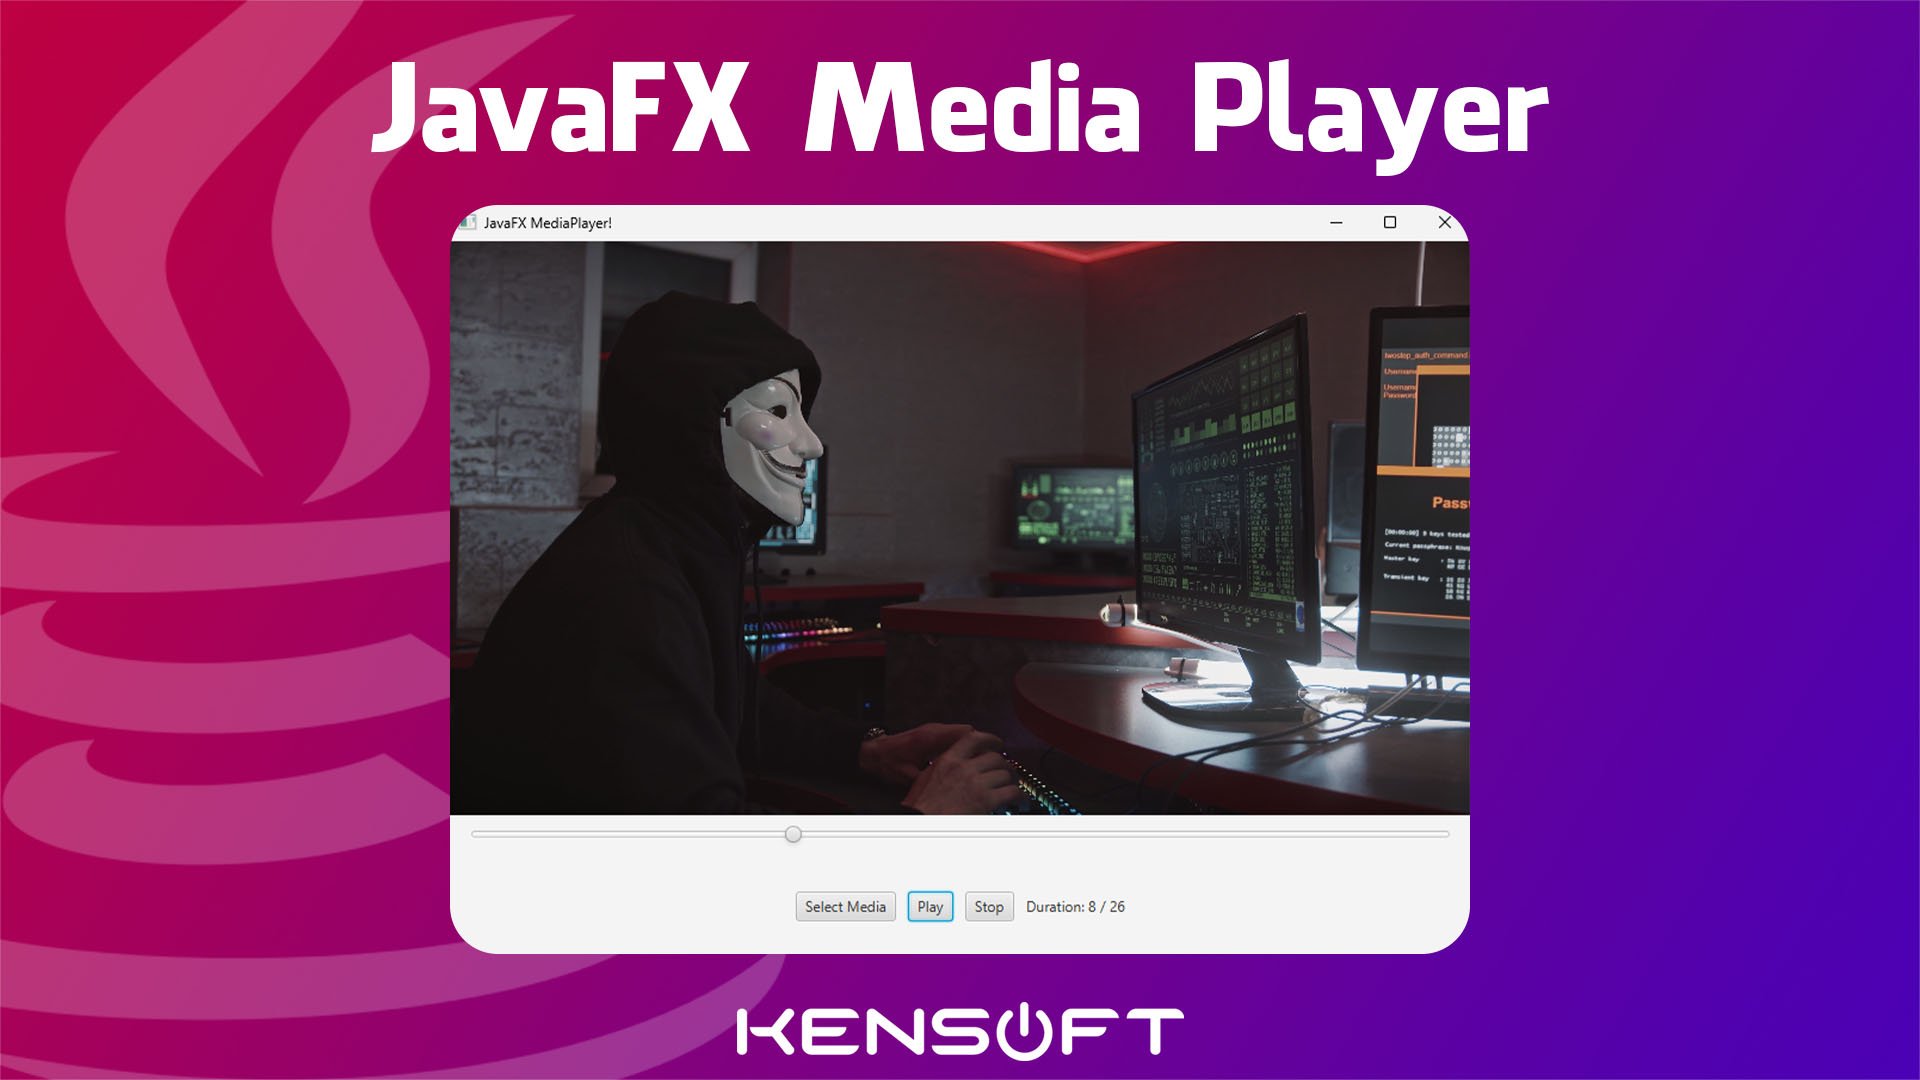
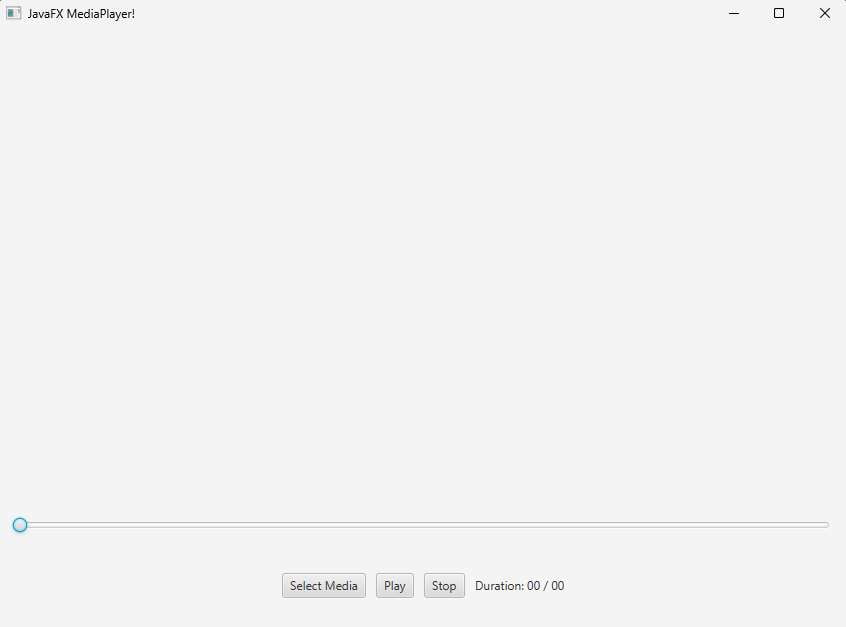
Example Output

Youtube Video