This type of control is most commonly seen at the top of the application window. In this tutorial, you will learn how to use the JavaFX ToolBar. The ToolBar is used to display the most commonly used tools or nodes in the application, but it will also depend on the application’s requirements. Please continue reading if you want to learn more about this tutorial.
Let’s dive in!
How to use the JavaFX ToolBar
The ToolBar is most likely a container that can hold nodes or even layout in JavaFX. Since this control is used to display a group of nodes, you can add anything you want to put in the JavaFX ToolBar like JavaFX Button, TextField, or TextArea. Now, if you have a lot of nodes added to the ToolBar, it will overflow and the overflow button will appear.
The overflow button is clickable, and it will display the hidden items. There are some features you need to learn about using ToolBar in JavaFX and this tutorial will cover the fundamentals of this control. I will walk you through creating and displaying it in the application. The following example below will show you how to create the ToolBar in JavaFX.
Create the ToolBar in JavaFX
Creating the ToolBar is easy; you need to use its constructor and make an object. The default constructor of the ToolBar creates an empty ToolBar. You can also use another constructor to add initial nodes. The given example code below will show you how to create a ToolBar using its constructor, either default or with the initial one.
// create an empty toolbar
ToolBar toolBar = new ToolBar();

// create a toolbar with initial items
ToolBar toolBar = new ToolBar(new Button("Rectangle"), new Button("Circle"), new Button("Line"), new TextField(), new Label("KensoftPH.com"));
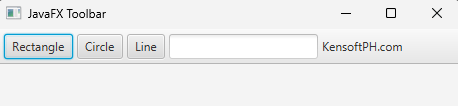
Output for this example
Add nodes to the ToolBar
You need to have an object of nodes like Button, Label, or TextField. The JavaFX ToolBar uses an ObservableList<Node> to store the reference of items as Node. You can use the getItems() method to add the nodes in the ToolBar in JavaFX and you can see how to do this in the example below.
Button btn1 = new Button("Rectangle");
Button btn2 = new Button("Circle");
Button btn3 = new Button("Line");
Button btn4 = new Button("Arrow");
Button btn5 = new Button("Oval");

TextField txt = new TextField();

toolBar.getItems().addAll(btn1, btn2, btn3, btn4, btn5, txt);
Adding nodes to the ToolBar is very easy, and the next step is to add our ToolBar to the window.
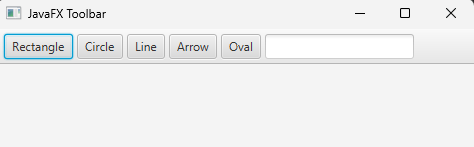
Display the ToolBar in the window
In this example, we will create the layout in JavaFX, and add it to the scene graph to make our nodes visible in the front end. In this case, we will use the BorderPane layout because the BorderPane layout is one of the desktop application standard layouts. The following example code will show how to do this.
public void start(Stage stage) throws IOException {

    ToolBar toolBar = new ToolBar();
    Button btn1 = new Button("Rectangle");
    Button btn2 = new Button("Circle");
    Button btn3 = new Button("Line");
    Button btn4 = new Button("Arrow");
    Button btn5 = new Button("Oval");

    TextField txt = new TextField();

    toolBar.getItems().addAll(btn1, btn2, btn3, btn4, btn5, txt);

    BorderPane layout = new BorderPane();
    layout.setTop(toolBar);

    Scene scene = new Scene(layout, 300, 400);
    stage.setScene(scene);
    stage.setTitle("JavaFX Toolbar");
    stage.show();
}
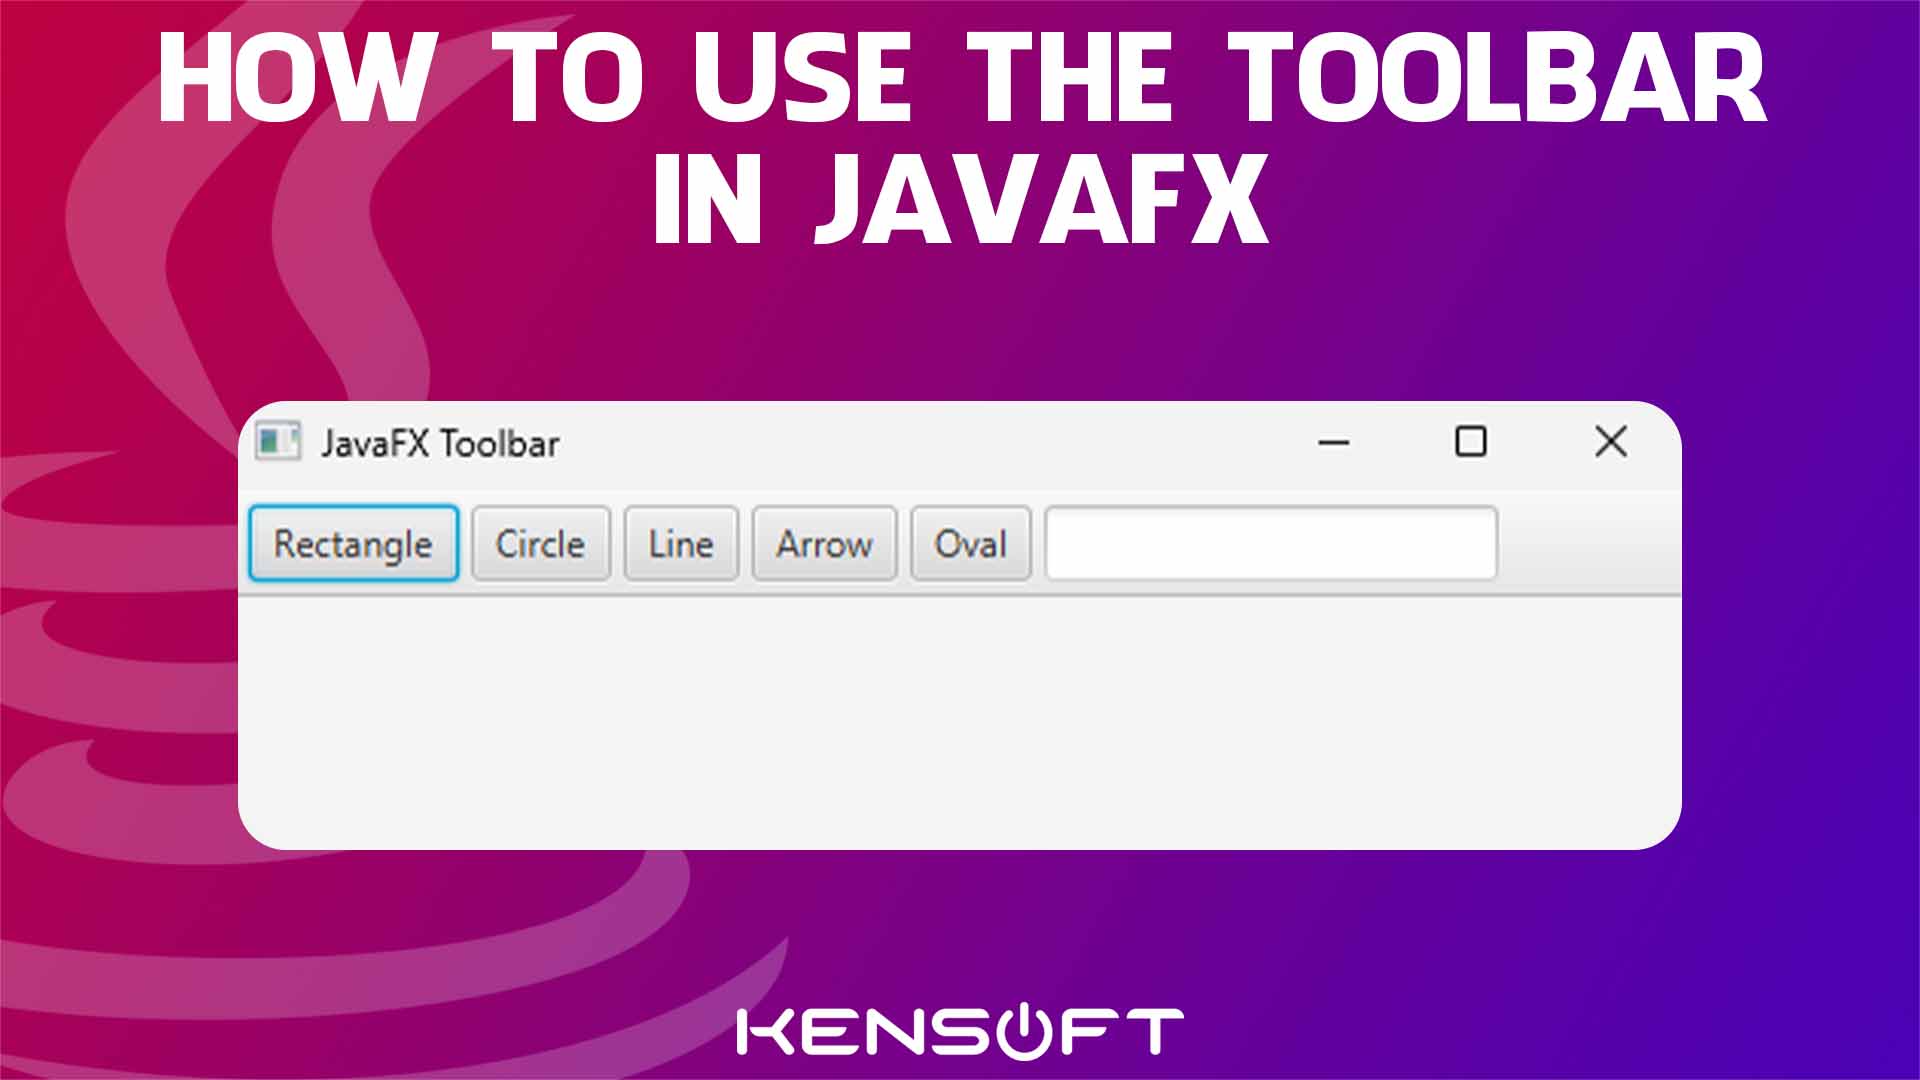
Output for this example
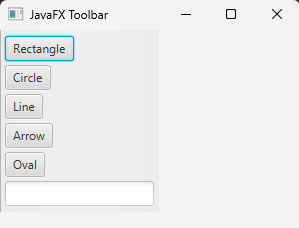
Setting the orientation
The ToolBar in JavaFX allows you to change the orientation, and it specifies its orientation as Horizontal or Vertical. The default orientation of the ToolBar uses the horizontal orientation. The following example code will set the orientation to Vertical.
// setting the orientation
toolBar.setOrientation(Orientation.VERTICAL);
Output for this example
Youtube Video