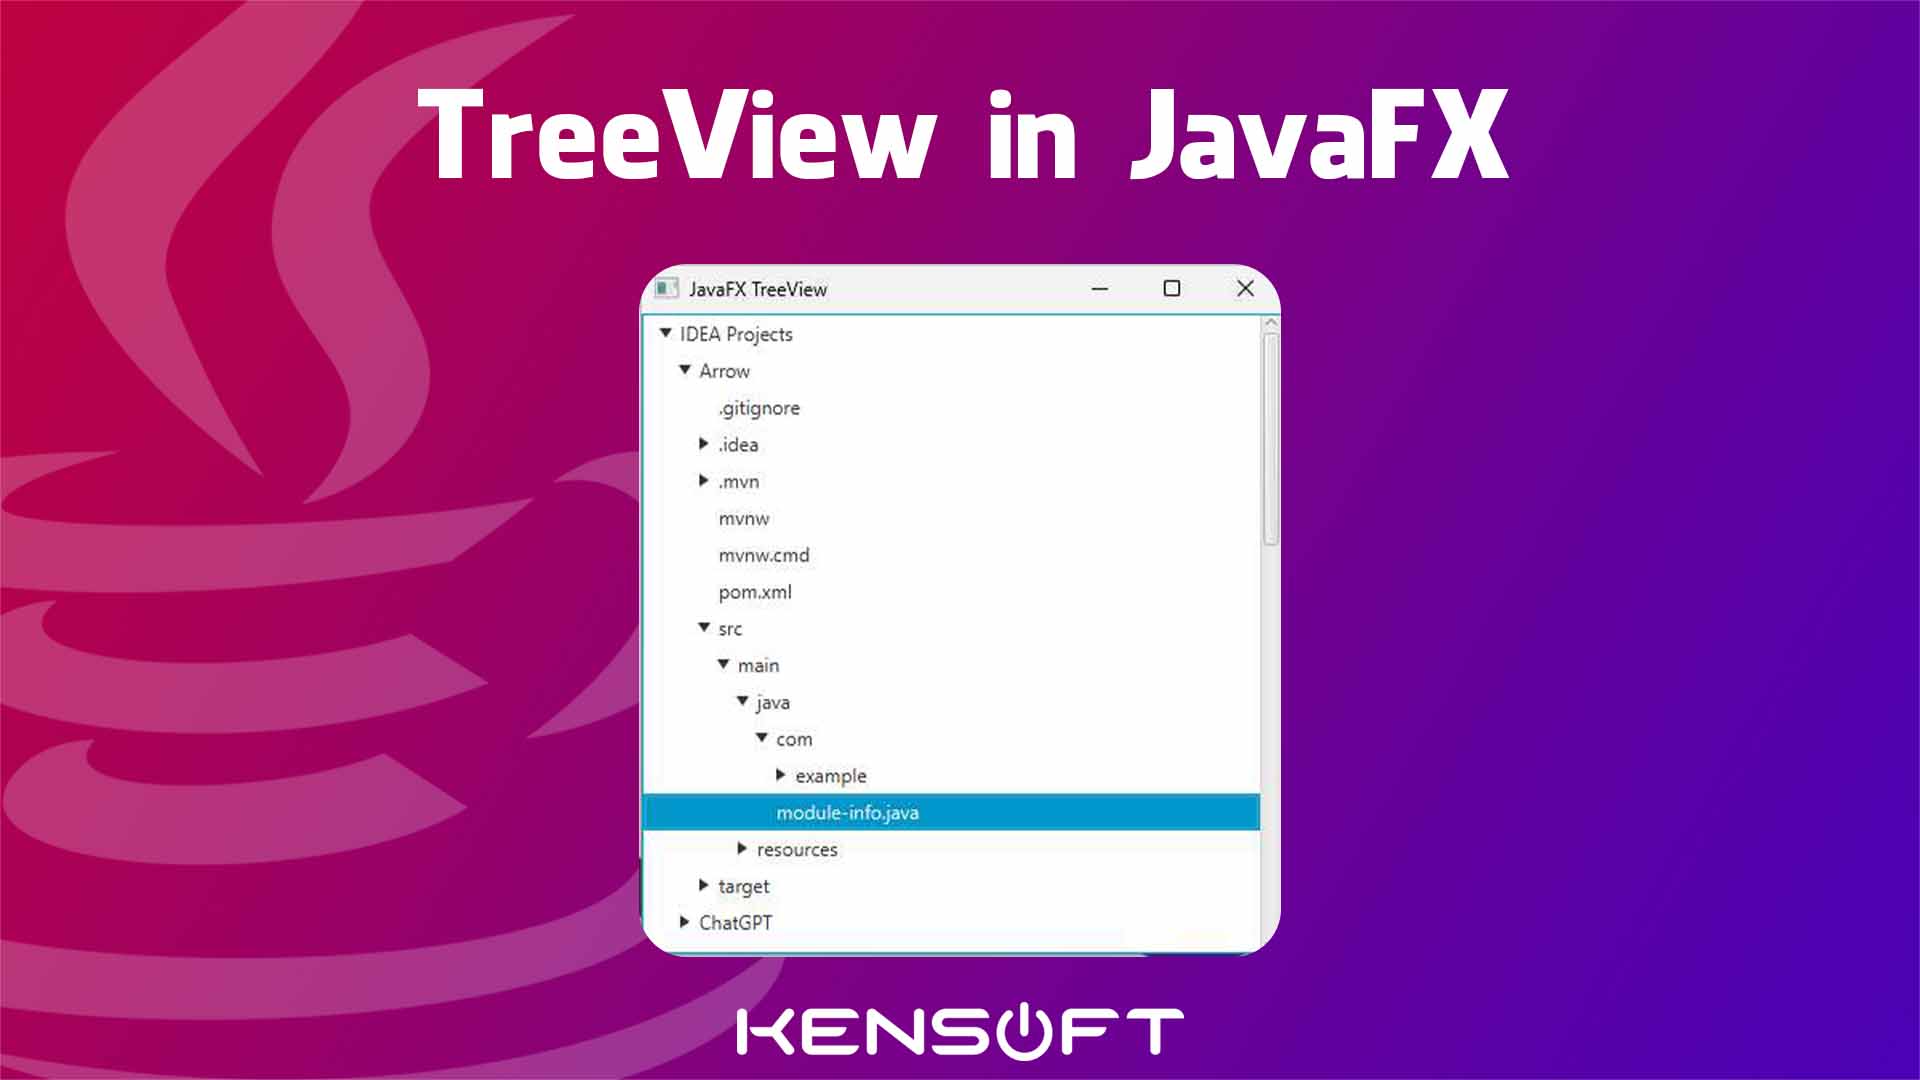
How to use the TreeView in JavaFX
What’s up! In this tutorial, you will learn how to use the TreeView in JavaFX. The TreeView is a useful and powerful control to use in JavaFX. This control allows us and the users to display hierarchical data. JavaFX TreeView has collapsible and expandable features which will be a good feature to help the user interface to be organized.
When you would like to expand the TreeView, you will first need to expand the parent or the root node, child or branch node and last the last data will be the leaf node. When all TreeItems are expanded, it provides a visual representation of a tree structure. If you are not familiar with the TreeItem, JavaFX TreeItem is used to create the nodes like the root or parent node until the leaf node.
Create the TreeView
Let’s get started and learn more about the TreeView and let’s start by creating the JavaFX TreeView. In this example, I will provide you with the code to create the TreeView, the provided code snippet below will guide you in creating it. You’ll need to use the TreeView class and we’ll use String as its generic type as shown in the code below.
TreeView<String> treeView = new TreeView<>();
Now, we’ve created the TreeView in JavaFX but we’re not done yet. The TreeView is also a parameterized constructor, just like the other nodes. You can also assign a node or the root node there. You can set the root node as well like treeView.setRoot(treeItem); We also need to create the TreeItem. A TreeView without a TreeItem is useless, so we must create this node. TreeItem is a piece of data in the tree which represents the parent, branch or the leaf node. Now, please see the code as shown below to see how it works.
TreeItem<String> root = new TreeItem<>("Root");

TreeItem<String> branch1 = new TreeItem<>("Branch 1");
TreeItem<String> branch2 = new TreeItem<>("Branch 2");

TreeItem<String> leaf1 = new TreeItem<>("leaf 1");
TreeItem<String> leaf2 = new TreeItem<>("leaf 2");
TreeItem<String> leaf3 = new TreeItem<>("leaf 3");
TreeItem<String> leaf4 = new TreeItem<>("leaf 4");

root.getChildren().addAll(branch1, branch2);
branch1.getChildren().addAll(leaf1, leaf2);
branch2.getChildren().addlAll(leaf3, leaf4);
Displaying TreeView
In this part of this basic tutorial, you will learn how to display the TreeView in the application window or the JavaFX Stage. You also need to learn more about layout in JavaFX to create the layout for the scene. If you already know how to display the nodes to the stage, this will be easy for you. The following code as shown below will show you how to display the TreeView in JavaFX with a scene on the Stage.
VBox layout = new VBox(treeView);
Scene scene = new Scene(layout, 400, 400);
stage.setScene(scene);
stage.setTitle("JavaFX TreeView");
stage.show();
Example 1: Put the code all together
In this example, we will put the codes together as we’ve learned the basic example of creating the TreeView in JavaFX.
import javafx.application.Application;
import javafx.scene.Scene;
import javafx.scene.control.TreeItem;
import javafx.scene.control.TreeView;
import javafx.scene.layout.VBox;
import javafx.stage.Stage;

import java.io.IOException;

public class TreeViewMain extends Application {
    @Override
    public void start(Stage stage) throws IOException {

        TreeItem<String> root = new TreeItem<>("Root");

        TreeView<String> treeView = new TreeView<>(root);
        treeView.setShowRoot(true);

        TreeItem<String> branch1 = new TreeItem<>("Branch 1");
        TreeItem<String> branch2 = new TreeItem<>("Branch 2");

        TreeItem<String> leaf1 = new TreeItem<>("leaf 1");
        TreeItem<String> leaf2 = new TreeItem<>("leaf 2");
        TreeItem<String> leaf3 = new TreeItem<>("leaf 3");
        TreeItem<String> leaf4 = new TreeItem<>("leaf 4");

        root.getChildren().addAll(branch1, branch2);
        branch1.getChildren().addAll(leaf1, leaf2);
        branch2.getChildren().addAll(leaf3, leaf4);

        VBox layout = new VBox(treeView);
        Scene scene = new Scene(layout, 400, 400);
        stage.setScene(scene);
        stage.setTitle("JavaFX TreeView");
        stage.show();

    }

    public static void main(String[] args) {
        launch();
    }
}
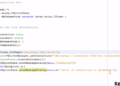
Output
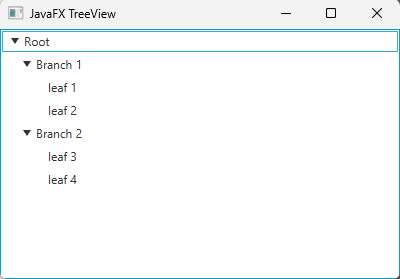
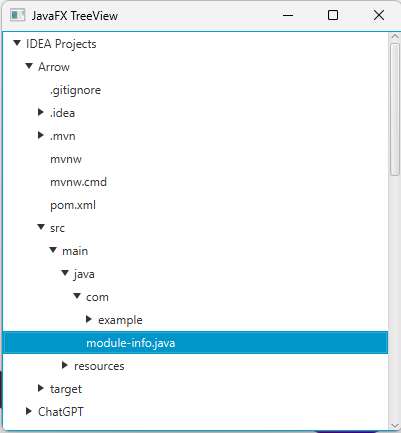
Example 2: Advance JavaFX TreeView
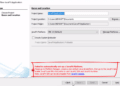
In this example, I will provide an advanced example code for creating the JavaFX TreeView. The code will execute dynamically from a selected path on your computer and it will automatically generate TreeItems based on the files from the selected path. To learn more about it, please proceed to the given code below.
import javafx.application.Application;
import javafx.scene.Scene;
import javafx.scene.control.TreeItem;
import javafx.scene.control.TreeView;
import javafx.scene.layout.VBox;
import javafx.stage.Stage;

import java.io.File;
import java.io.IOException;

public class TreeViewMain extends Application {
    @Override
    public void start(Stage stage) throws IOException {

        File filePath = new File("D:\\IDEA Projects"); // you can change the path here to your desired path

        // Create the root and items
        TreeItem<String> root = createItems(filePath);

        // create the treeview
        TreeView<String> treeView = new TreeView<>(root);

        // Create the Scene and show the stage
        VBox layout = new VBox(treeView);
        Scene scene = new Scene(layout, 400, 400);
        stage.setScene(scene);
        stage.setTitle("JavaFX TreeView");
        stage.show();

        // This code will print out the selected items on the TreeView
        treeView.getSelectionModel().selectedItemProperty().addListener((observable, oldValue, newValue ) ->{
            String selectedItem = newValue.getValue();
            System.out.println(selectedItem);
        });
    }

    // create the treeitems dynamically based on the given path
    private TreeItem<String> createItems(File file){
        TreeItem<String> treeItems = new TreeItem<>(file.getName());
        if(file.isDirectory()){
            File[] files = file.listFiles();
            if(files != null){
                for(File childItem : files){
                    treeItems.getChildren().addAll(createItems(childItem));
                }
            }
        }

        return treeItems;
    }

    public static void main(String[] args) {
        launch();
    }
}
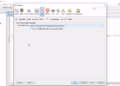
Output
YouTube Video