In the field of software development, creating a cool and user-engaging Music Player application is a popular use case that developers often come across. This tutorial aims to guide you in developing a basic and simple music player using JavaFX platform. Specifically, it is a basic and fundamental tutorial on how to implement JavaFX Music Player with JavaFX Media Player.
A Sneak Peek of JavaFX Media Player
JavaFX Media Player is a component, specifically class javafx.scene.media.MediaPlayer, designed to take care of media playback in a straightforward manner. It can play a variety of media types but in this walk-through, our focus will be on utilizing the JavaFX Media Player for creating a JavaFX Music Player that can play your favorite tracks.
Dive-In: Developing a basic and simple JavaFX Music Player
So, are you stoked to build and perhaps, get your tunes playing in no time? Let’s dig in!

Step1: Equip Yourself: Setting up JavaFX
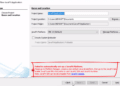
First thing first, ensure you’re geared up! Have the JavaFX SDK set up on your development environment. Besides, an IDE with support for JavaFX projects, like the IntelliJ IDEA, would be beneficial.
Step 2: Build your Stage: The Interface
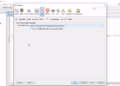
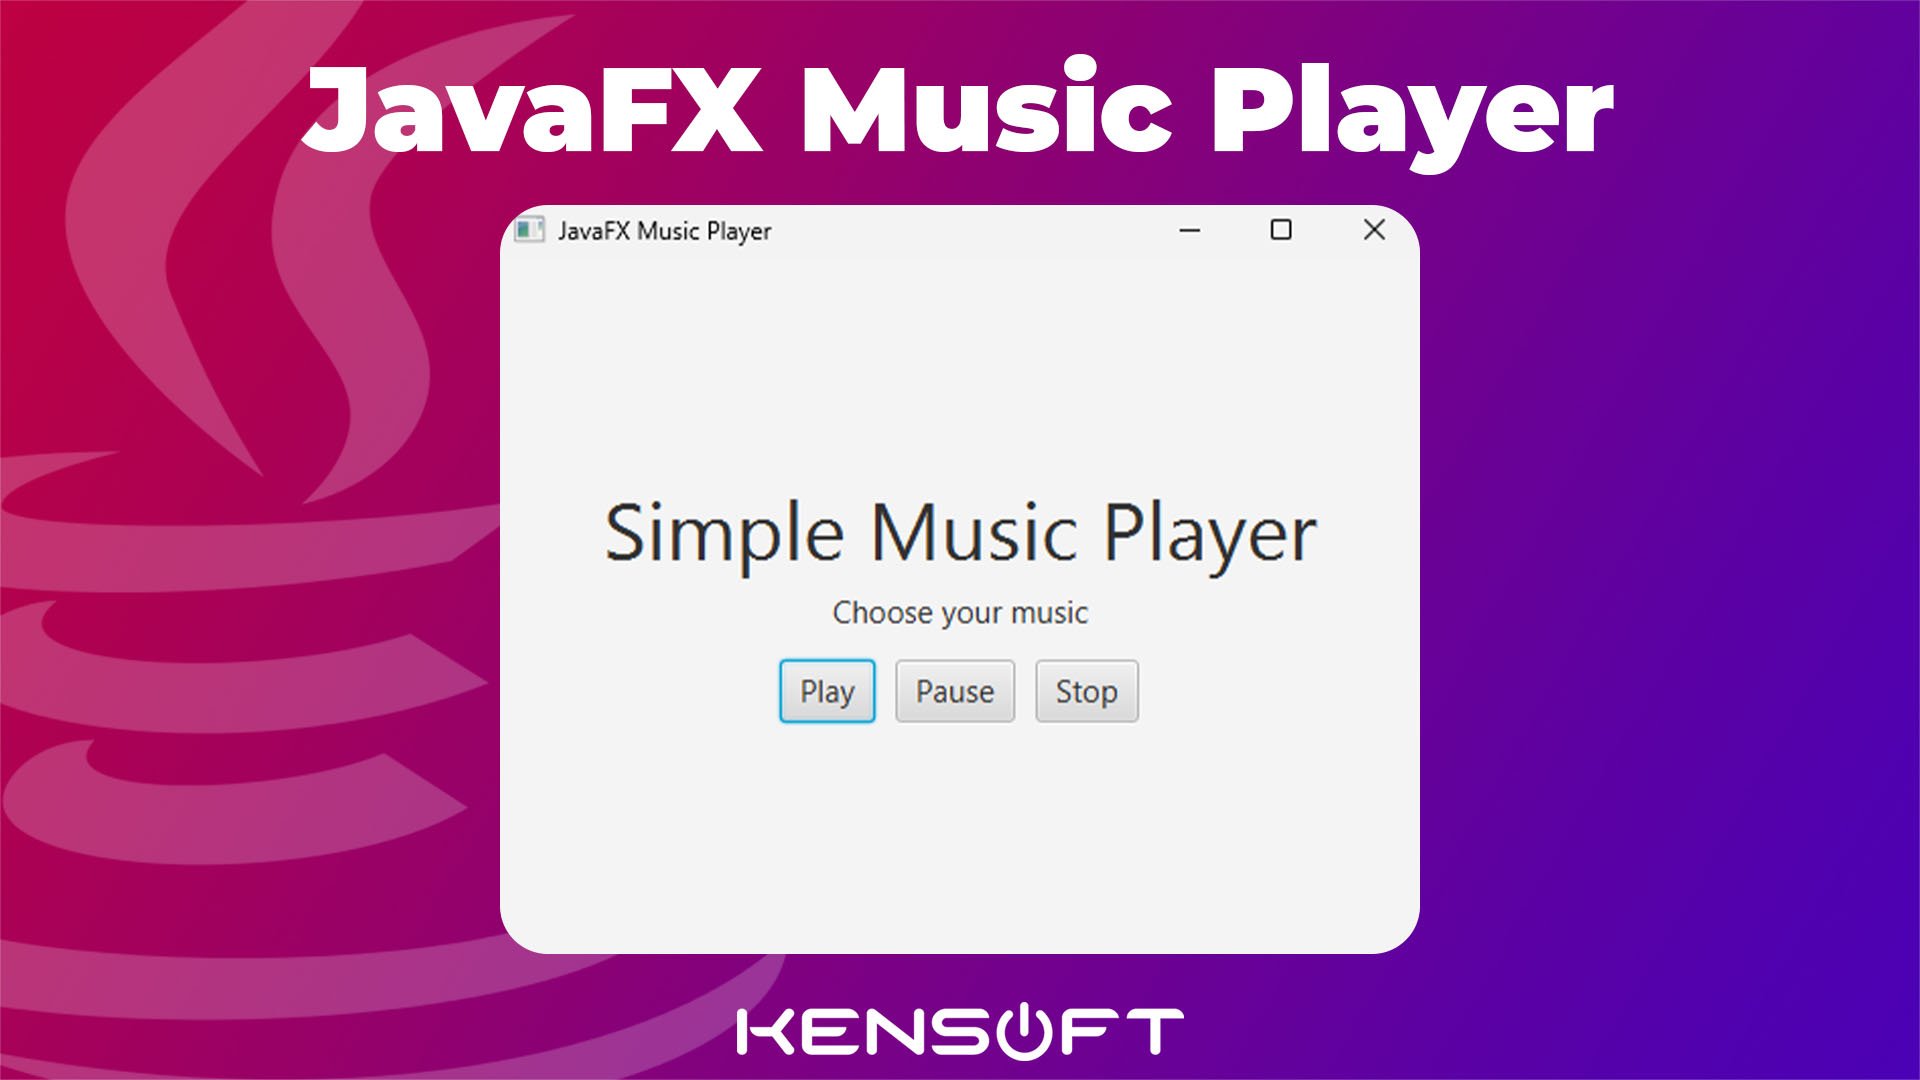
Designing the JavaFX Music Player begins with setting up your interface using SceneBuilder. Start off by making a new JavaFX project and open the FXML file in SceneBuilder to create your awesome user interface. Key elements that your interface should contain include functionalities like “Play”, “Pause”, “Next”, “Previous” buttons, perhaps a “Volume” control, and other elements you’d love on a music player.
Step 3: The Backbone: Integrating JavaFX Media Player
After setting up our interface, it’s time to work on the code to bring life into the application. Inside the class that stands as our controller class of our FXML file, we initialize the Media and MediaPlayer objects
But before that, if you’re using the Maven build, you can download another module using the dependency at the pom.xml file and require it at the module-info.java to access the Media Classes.
pom.xml
        <dependency>
            <groupId>org.openjfx</groupId>
            <artifactId>javafx-media</artifactId>
            <version>17.0.6</version>
        </dependency>
module-info.java
module com.kensoftph.mediaplayer {
    requires javafx.controls;
    requires javafx.fxml;
    requires javafx.media;


    opens com.kensoftph.mediaplayer to javafx.fxml;
    exports com.kensoftph.mediaplayer;
}
Media media = new Media(new File("path_to_your_music_file.mp3").toURI().toString());
MediaPlayer mediaPlayer = new MediaPlayer(media);
Remember to import javafx.scene.media.Media and javafx.scene.media.MediaPlayer.
Step 4: Making it Pop: Play, Pause, Next, Previous Functionality
How do we get the buttons doing what they’re supposed to? That’s simple! We implement these functions by adding event handlers for the buttons created in your FXML file.
For example, to make your play and pause functionality work, you could use:
playButton.setOnAction(e -> mediaPlayer.play());

pauseButton.setOnAction(e -> mediaPlayer.pause());
Similarly, you can build functionalities for “Next”, “Previous”, and “Volume” control. It’s as simple as loading the right file into your MediaPlayer object or tweaking the volume property.
Full source code of my basic and simple music player
In this code, I will provide you the source code that was developed with SceneBuilder. You can copy these code here and implement this to your own project.
FXML File
<?xml version="1.0" encoding="UTF-8"?>

<?import javafx.scene.control.Button?>
<?import javafx.scene.control.Label?>
<?import javafx.scene.layout.BorderPane?>
<?import javafx.scene.layout.HBox?>
<?import javafx.scene.layout.VBox?>
<?import javafx.scene.text.Font?>


<BorderPane maxHeight="-Infinity" maxWidth="-Infinity" minHeight="-Infinity" minWidth="-Infinity" prefHeight="342.0" prefWidth="455.0" xmlns="http://javafx.com/javafx/18" xmlns:fx="http://javafx.com/fxml/1" fx:controller="com.kensoftph.mediaplayer.MusicPlayer">
   <center>
      <VBox alignment="CENTER" prefHeight="200.0" prefWidth="100.0" BorderPane.alignment="CENTER">
         <children>
            <Label text="Simple Music Player">
               <font>
                  <Font size="40.0" />
               </font>
            </Label>
            <Label fx:id="chooseMusic" onMouseClicked="#chooseMusic" text="Choose your music">
               <font>
                  <Font size="15.0" />
               </font>
            </Label>
            <HBox alignment="CENTER" prefHeight="56.0" prefWidth="455.0" spacing="10.0">
               <children>
                  <Button mnemonicParsing="false" onMouseClicked="#play" text="Play">
                     <font>
                        <Font size="15.0" />
                     </font>
                  </Button>
                  <Button mnemonicParsing="false" onMouseClicked="#pause" text="Pause">
                     <font>
                        <Font size="15.0" />
                     </font>
                  </Button>
                  <Button mnemonicParsing="false" onMouseClicked="#stop" text="Stop">
                     <font>
                        <Font size="15.0" />
                     </font>
                  </Button>
               </children>
            </HBox>
         </children>
      </VBox>
   </center>
</BorderPane>
FXML Controller Java Class
package com.kensoftph.mediaplayer;
import javafx.fxml.FXML;
import javafx.scene.control.Label;
import javafx.scene.input.MouseEvent;
import javafx.scene.media.Media;
import javafx.scene.media.MediaPlayer;
import javafx.stage.FileChooser;
import java.io.File;
public class MusicPlayer {
@FXML
private Label chooseMusic;
private MediaPlayer mediaPlayer;
@FXML
void chooseMusic(MouseEvent event) {
FileChooser chooser = new FileChooser();
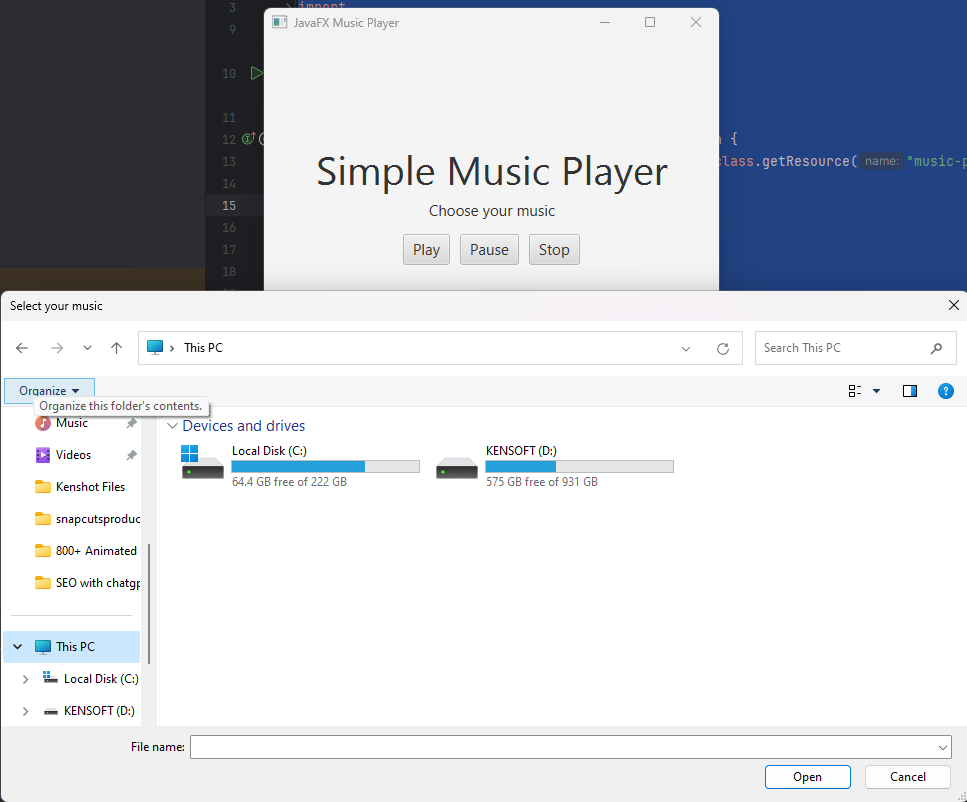
chooser.setTitle("Select your music");
File file = chooser.showOpenDialog(null);
if(file != null){
String selectedFile = file.toURI().toString();
Media media = new Media(selectedFile);
mediaPlayer = new MediaPlayer(media);
mediaPlayer.setOnReady(() -> chooseMusic.setText(file.getName()));
}
}
@FXML
void pause(MouseEvent event) {
mediaPlayer.pause();
}
@FXML
void play(MouseEvent event) {
mediaPlayer.play();
}
@FXML
void stop(MouseEvent event) {
mediaPlayer.stop();
}
}
Main Class
package com.kensoftph.mediaplayer;

import javafx.application.Application;
import javafx.fxml.FXMLLoader;
import javafx.scene.Scene;
import javafx.stage.Stage;

import java.io.IOException;

public class Main extends Application {
    @Override
    public void start(Stage stage) throws IOException {
        FXMLLoader fxmlLoader = new FXMLLoader(Main.class.getResource("music-player.fxml"));
        Scene scene = new Scene(fxmlLoader.load());
        stage.setTitle("JavaFX Music Player");
        stage.setScene(scene);
        stage.show();
    }

    public static void main(String[] args) {
        launch();
    }
}
Step 5: Finishing and Testing
Now that all functionalities are implemented, go ahead and run your JavaFX application. What do you see? An interactive JavaFX Music Player by you, for you!
The Bottom-line
Truly, you can now share in the pride of having the foundational knowledge to implement a JavaFX Music Player. JavaFX makes it easy to do so much, creating music players with smooth user interfaces and easy media file handling skillfully. Always remember to write your code in a form other developers can understand and maintain easily. This way, your JavaFX Music Player can be efficient, scalable and a joy to interact with. Until next time, happy coding!
Youtube Video