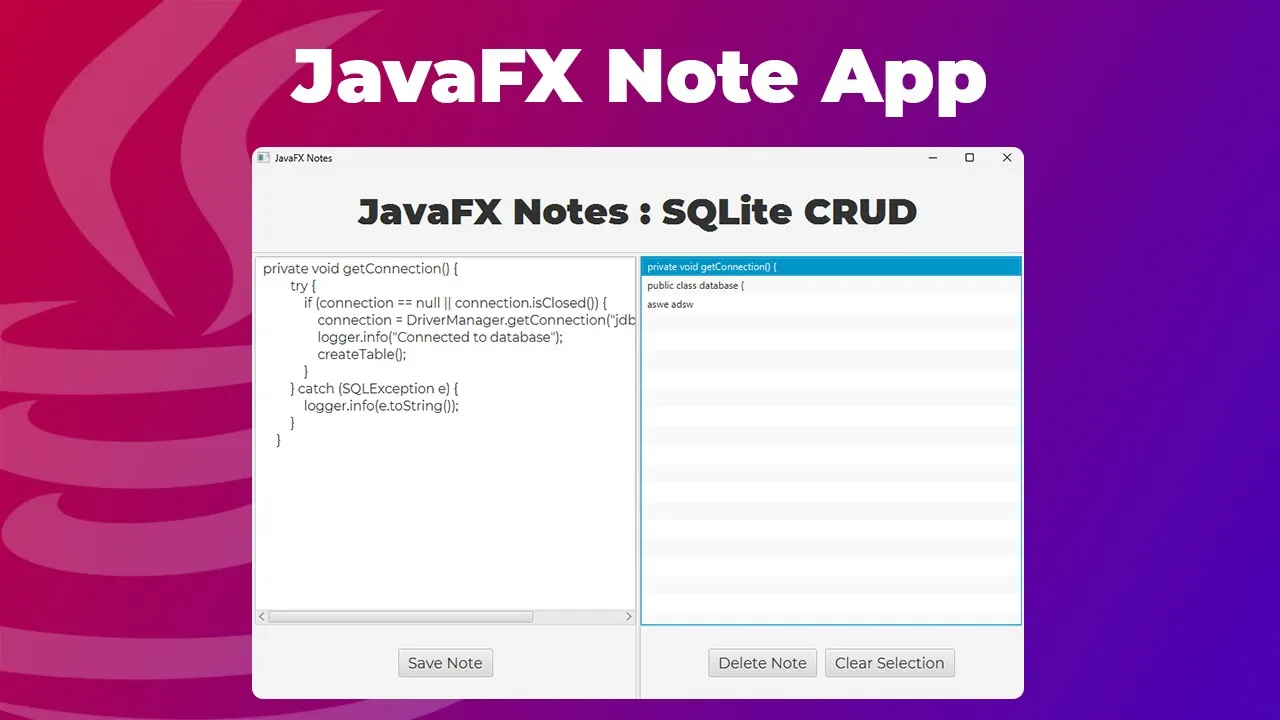

Explore building a JavaFX note-taking app with an SQLite database, focusing on CRUD operations to manage notes efficiently.
Key Takeaway:
- Learn to integrate SQLite with JavaFX for a note-taking app.
- Understand CRUD operations: Create, Read, Update, Delete.
- Utilize Scene Builder for UI setup.
- Implement an organized MVC structure with Java.
JavaFX SQLite Database CRUD Tutorial
Hey everyone! I know it’s been a while since my last post. I’ve been away for some time, and unfortunately, my camera decided to break. So, today we’ll dive into a practical tutorial on connecting a SQLite database to a JavaFX application. This project will be a simple note-taking app with CRUD (Create, Read, Update, Delete) functionality. Let’s get started!
Setting Up the Scene Builder
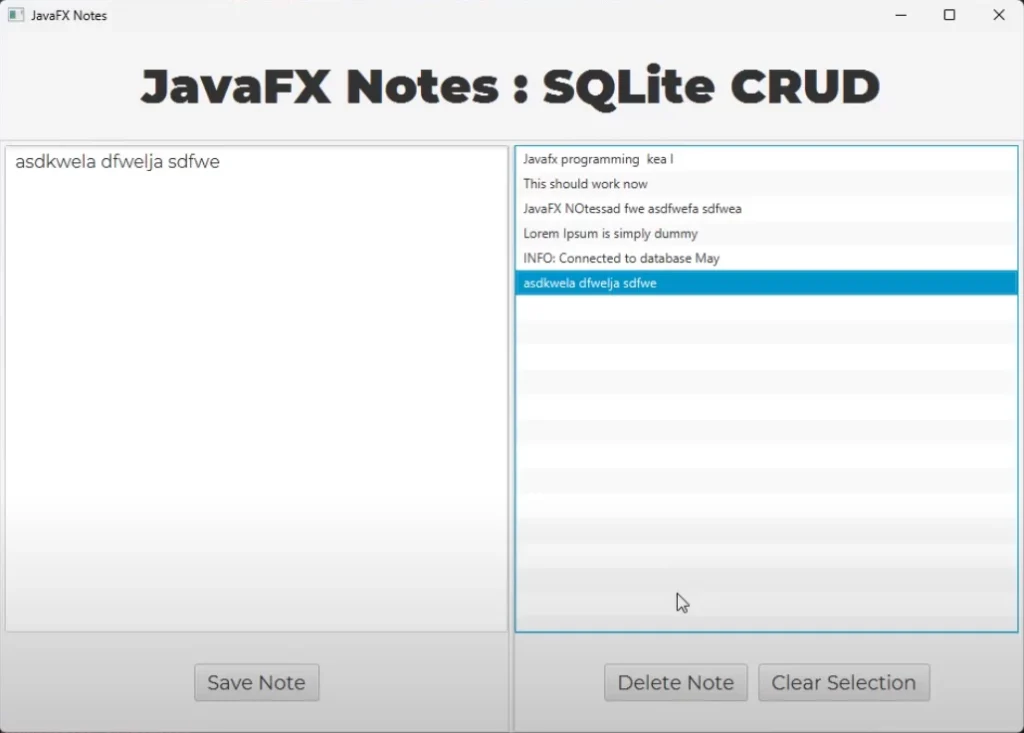
First, let’s discuss setting up the GUI using Scene Builder. For our note-taking app, we’ll have:
- A SplitPane containing:
- A ListView on the left to display the list of notes.
- A TextArea on the right for typing notes.
- Buttons for:
- Saving or updating a note.
- Deleting a note.
- Clearing the selection from the ListView.
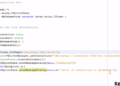
You’ll need to assign proper IDs and event handlers to these components. Here’s a quick visual in Scene Builder:
- ListView FXID:
listView - TextArea FXID:
textArea - Buttons with IDs and corresponding
onActionevents:
- Save/Update Button:
onAction="btnSave" - Delete Button:
onAction="btnDelete" - Clear Selection Button:
onAction="btnClear"
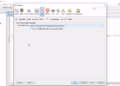
Once the UI is set up, we’ll move to the coding part using IntelliJ IDE.
Adding SQLite Dependency
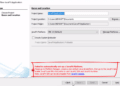
Firstly, we need to add the SQLite driver dependency in our pom.xml if you are using Maven. Here is how:
        <dependency>
            <groupId>org.xerial</groupId>
            <artifactId>sqlite-jdbc</artifactId>
            <version>3.45.1.0</version>
        </dependency>
Refresh your Maven dependencies to download the required libraries.
Connecting to SQLite Database
We’ll start with establishing a connection to the SQLite database. We’ll create a Db class to manage database operations.
package com.kensoftph.javafxnotes;

import java.sql.*;
import java.util.ArrayList;
import java.util.List;
import java.util.logging.Logger;

public class Db {
    private Connection connection;
    private Logger logger = Logger.getLogger(this.getClass().getName());

    public void getConnection() {
        try {
            if (connection == null || connection.isClosed()) {
                connection = DriverManager.getConnection("jdbc:sqlite:notes.db");
                logger.info("Connected to database");
                createTable();
            }
        } catch (SQLException e) {
            logger.info(e.toString());
        }
    }

    private void createTable() {
        getConnection();
        String query = "create table if not exists note (id integer not null primary key autoincrement, title text not null, content text not null)";
        try (PreparedStatement statement = connection.prepareStatement(query)) {
            statement.executeUpdate();
            logger.info("Table created");
        } catch (SQLException e) {
            logger.info(e.toString());
        }
    }

    private void closeConnection() throws SQLException {
        if (connection != null || !connection.isClosed()) {
            connection.close();
        }
    }
}
In our Db class, we’ve defined methods to get a connection, close the connection, and create a table if it doesn’t exist.
CRUD Operations
Let’s define the CRUD operations in Db.
Insert Note
    public void insertNote(String title, String content) {
        getConnection();
        String query = "insert into note (title, content) values(?, ?)";
        try (PreparedStatement statement = connection.prepareStatement(query)) {
            statement.setString(1, title);
            statement.setString(2, content);
            statement.executeUpdate();
            logger.info("Note inserted");

            closeConnection();
        } catch (SQLException e) {
            logger.info(e.toString());
        }
    }
Read Notes
    public List<Note> readNotes() {
        getConnection();
        String query = "select * from note";
        List<Note> notes = new ArrayList<>();
        try(PreparedStatement statement = connection.prepareStatement(query)){
            ResultSet rs = statement.executeQuery();

            while(rs.next()){
                int id = rs.getInt("id");
                String title = rs.getString("title");
                String content = rs.getString("content");
                notes.add(new Note(id, title, content));
            }

            closeConnection();
        }catch(SQLException e) {
            logger.info(e.toString());
        }

        return notes;
    }
Update Note
    public void updateNote(int id, String title, String content) {
        getConnection();
        String query = "update note set title = ?, content = ? where id = ?";
        try(PreparedStatement statement = connection.prepareStatement(query)){
            statement.setString(1, title);
            statement.setString(2, content);
            statement.setInt(3, id);
            statement.executeUpdate();
            logger.info("Note updated");

            closeConnection();
        }catch (SQLException e){
            logger.info(e.toString());
        }
    }
Delete Note
    public void deleteNote(int id) {
        getConnection();
        String query = "delete from note where id = ?";
        try(PreparedStatement statement = connection.prepareStatement(query)){
            statement.setInt(1, id);
            statement.executeUpdate();
            logger.info("Note deleted");

            closeConnection();
        }catch (SQLException e){
            logger.info(e.toString());
        }
    }
Controller Setup
Next, let’s set up the NotesController class to handle UI interactions and CRUD operations:
package com.kensoftph.javafxnotes;

import javafx.fxml.FXML;
import javafx.fxml.Initializable;
import javafx.scene.control.ListView;
import javafx.scene.control.TextArea;
import javafx.scene.input.MouseEvent;

import java.net.URL;
import java.util.ArrayList;
import java.util.List;
import java.util.ResourceBundle;

public class NotesController implements Initializable {

    private Db db = new Db();

    @FXML
    private ListView<Note> listView;

    @FXML
    private TextArea textArea;

    @FXML
    private void listViewClicked(MouseEvent event) {
        if(listView.getSelectionModel().getSelectedItem() != null) {
            textArea.setText(listView.getSelectionModel().getSelectedItem().getContent());
        }
    }

    @FXML
    void btnClear(MouseEvent event) {
        if (listView.getSelectionModel().getSelectedItem() != null) {
            listView.getSelectionModel().clearSelection();
            textArea.clear();
        }
    }

    @FXML
    void btnDelete(MouseEvent event) {
        if (listView.getSelectionModel().getSelectedItem() != null) {
            db.deleteNote(listView.getSelectionModel().getSelectedItem().getId());
            refreshList();
        }
    }

    @FXML
    void btnSave(MouseEvent event) {

        String fiveWords = textArea.getText();
        String[] words = fiveWords.split("\\s");
        List<String> wordTitle = new ArrayList<>();

        for (int i = 0; i < words.length && i < 5; i++) {
            wordTitle.add(words[i]);
        }

        String title = String.join(" ", wordTitle);


        if(listView.getSelectionModel().getSelectedItem() != null && !textArea.getText().trim().isEmpty() ){
            db.updateNote(listView.getSelectionModel().getSelectedItem().getId(), title, textArea.getText());
            refreshList();
            return;
        }

        if(!textArea.getText().trim().isEmpty()){
            db.insertNote(title, textArea.getText());
            refreshList();
        }

    }

    private void refreshList() {
        List<Note> note = db.readNotes();
        listView.getItems().clear();
        textArea.clear();
        listView.getItems().addAll(note);
    }

    @Override
    public void initialize(URL url, ResourceBundle resourceBundle) {
        refreshList();
    }
}
In our NotesController, we’ve defined methods to handle save, delete, and clear operations. We also implement a click event on the ListView to populate the TextArea with the selected note.
Creating the Note Model
We need a Note class to represent the notes from the database:
package com.kensoftph.javafxnotes;

public class Note {
    private int id;
    private String title;
    private String content;

    public Note (int id, String title, String content) {
        this.id = id;
        this.title = title;
        this.content = content;
    }

    public int getId() {
        return id;
    }

    public String getTitle() {
        return title;
    }

    public String getContent() {
        return content;
    }
}
This class has getter methods to access note attributes to display the note’s title in the ListView.
Running the Application
Now that all the components are in place:
- Initialize the app by running the JavaFX application.
- Test inserting a new note.
- Check if the note appears in the
ListView. - Update and delete notes to ensure all functionalities work.
Wrapping up
Building a JavaFX application with SQLite database CRUD operations is a good project that showcases how JavaFX and SQLite can be effectively utilized together. It covers basic database operations and provides a simple yet functional note-taking app.
Don’t forget to clear your database connection to avoid memory leaks, especially after every database transaction.
Tips:
- Use this tutorial to build different applications by altering the data model.
- Customize your UI to make your application more user-friendly.
- Experiment with more advanced functionalities like search or filter options.
Finally, I’d love to hear from you! What new features would you add to this note-taking app? Feel free to share your thoughts or ask questions in the comments below.
Happy coding! 😊
How do you set up a JavaFX application with SQLite for note-taking?
To set up a JavaFX note-taking app with SQLite, use Scene Builder for the UI, establish a database connection, and implement CRUD operations in Java to create, read, update, and delete notes efficiently.