JavaFX WebView Tutorial
JavaFX WebView is a web rendering engine. JavaFX provides a web component for embedding a web browser in a JavaFX application to display its web content like Kensoft PH, GeeksforGeeks, etc. If you want to learn how to make a web browser in JavaFX, this is the best tutorial for you to start learning and making a web browser in JavaFX. To begin learning, please read the entire article. We have provided best examples for you to learn from, and you can copy those codes below.
How to use the WebView in JavaFX
To display web content using the WebView in JavaFX, you must also have the WebEngine and WebHistory classes because the WebView uses the WebEngine for the core proecessing to display its content, in short the WebEngine is in charge of all HTML and JavaScript logic, while the WebHistory represents the web browsing history.
The WebView handles user input such as mouse and keyboard events, as well as other tasks. The WebEngine will be used most of the time when you use the WebView component in your JavaFX application because the WebEngine maintains the browsing history of all visited web pages in an instance of the WebHistory class.
Creating a web browser
An instance of the WebView class represents a web browser. Please continue with the code below to create a WebView object.
WebView webview = new WebView();
We will need the WebEngine when we’ve created the webview object. The WebView class’s getEngine() method returns the WebEngine.
WebEngine engine = webview.getEngine();
To load content from a URL, use the load() method of the WebEngine class. You could use the reload() method to reload the current page if you wanted to. Check the code below to see what it looks like.
engine.load("https://www.google.com");
//Reload the current page
engine.reload();
There is another way to load content from a string. You could use the loadContent() method to load content in a String.
- loadContent(String content)
- loadContent(String content, String contentType)
This method is typically used when the content is retrieved from a database or creating the content in memory. Let’s assume in the following example is a “text/html” content type.
//loading the content
String html = "<html><head><title>Kensoft PH</title></head><body><p>Learn programming with Kensoft PH</p></body></html>";
engine.loadContent(html);

//or loading the content with plain text
String txt = "JavaFX WebView";
engine.load(txt, "text/plain");
Before we get started with our examples, you can download the JavaFX project that relates to the examples below and use it to learn at your convenience. Once you have downloaded the archive file, extract it and open the project in NetBeans IDE 12.3. This is a basic JavaFX web browser that showcases basic web browser functionality.
In the following examples, we will learn and demonstrate how to create a simple web browser in a JavaFX application. We will go over loading content with the WebView in JavaFX and loading with a progress bar while the current page is still loading, as well as determining whether the URL has been loaded or loading failed. You will also learn how to go back and forward on the previous URL.
It is also very simple to learn how to zoom in and out of the content. Now, let us move on to our examples, which are based on the downloadable web browser project above.
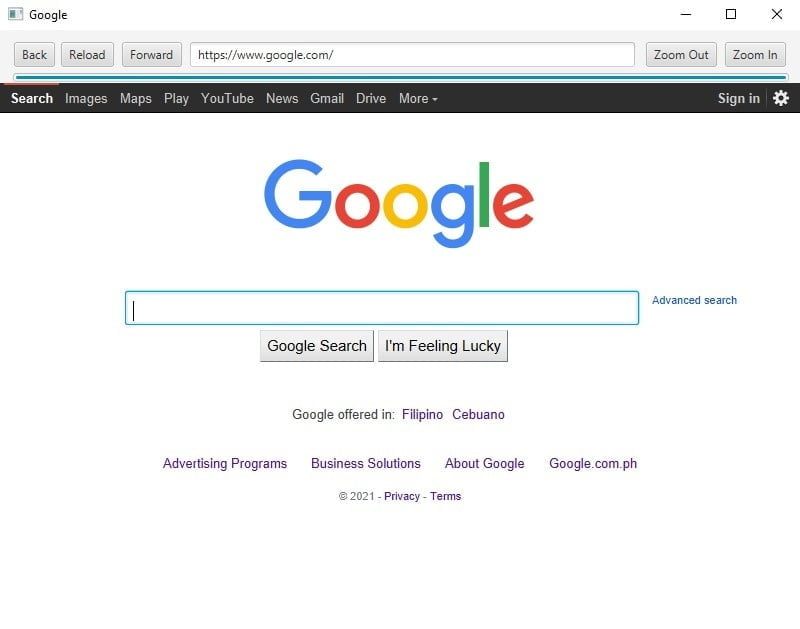
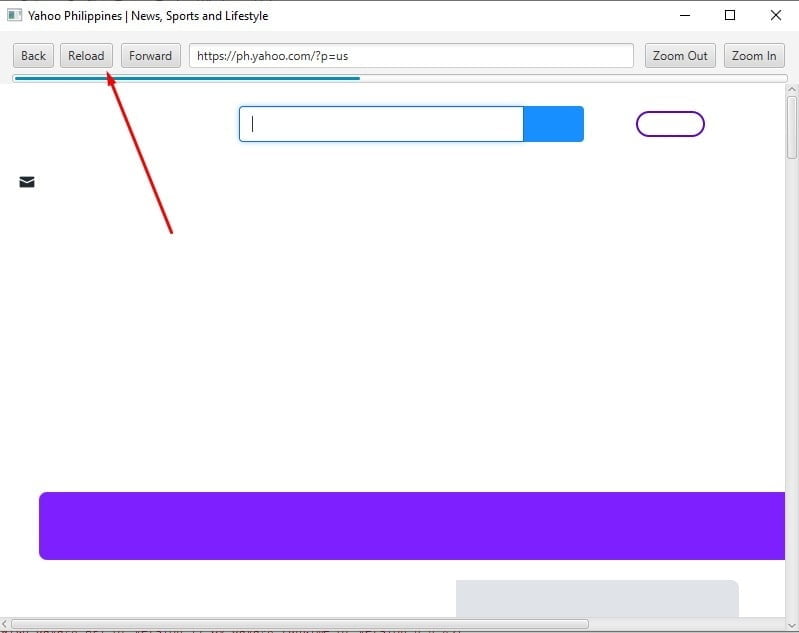
Example 1: Displaying the content into JavaFX WebView
To load the webpage into our WebView, we’ll use a Textfield to enter the URL and a KeyPressed event to fire the URL and load the content into the WebView. So, when we press the ENTER key on the keyboard, the URL begins to load.
//I used a loadUrl() method
private void loadUrl() {
        engine = webview.getEngine();
        engine.load("https://" + txtFieldUrl.getText());
    }

//Key Pressed Event for Enter key
@FXML
    private void txtEnterKey(KeyEvent event) {
        if (event.getCode() == KeyCode.ENTER) {
            loadUrl();
        }
    }
Output
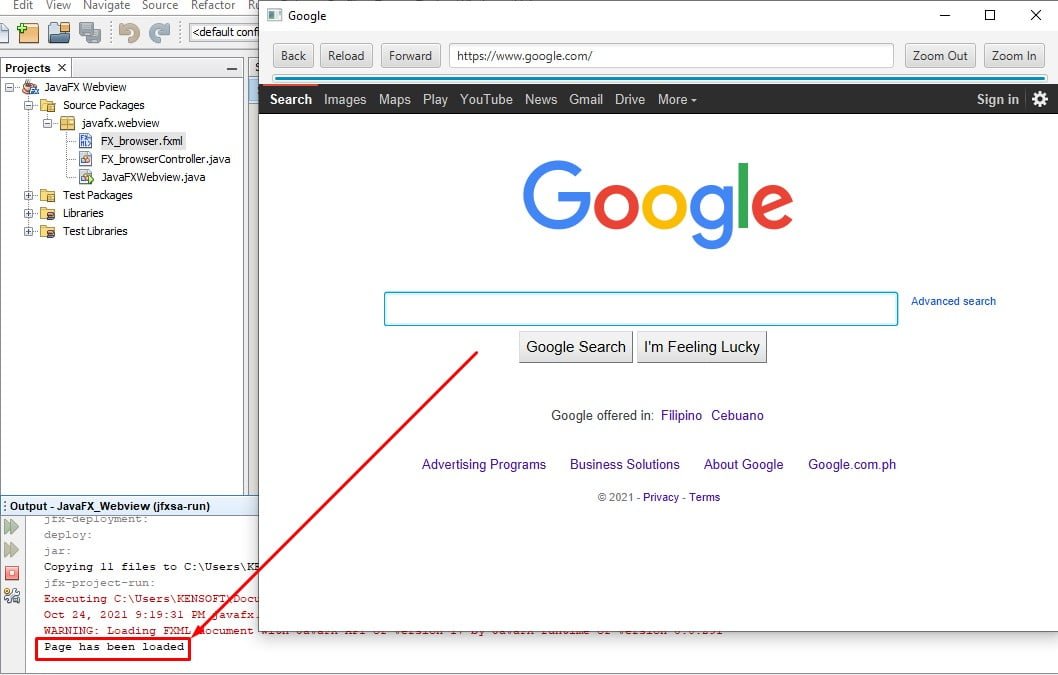
Example 2: Succeed or Loading Failed
In a web browser, identifying whether a page has been loaded or whether it has failed to load is also important. We’ll use the getLoadWorker() method to observe the change in the state of Worker by adding a listener to its State property, which represents the state.SUCCESSDED and state.FAILED.
engine.getLoadWorker().stateProperty().addListener((obs, oldValue, newValue) -> {
    if (newValue == Worker.State.SUCCEEDED) {
        System.out.println("Page has been loaded");
    } else if (newValue == Worker.State.FAILED) {
        System.out.println("Loading failed");
    }
});
Output
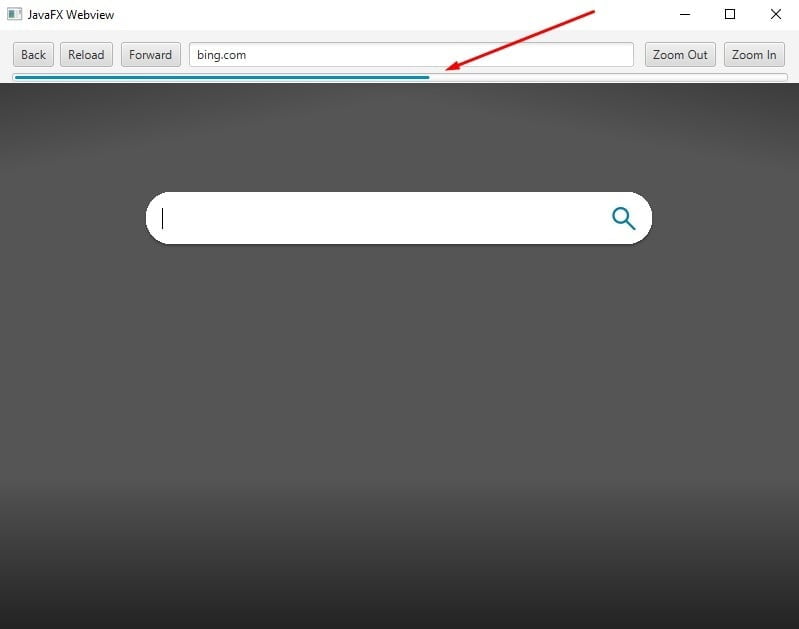
Example 3: Loading the Progress bar
The concept of loading the progress bar is the same as in Example 2. To get the progress bar to work, we’ll use the bind() method, which connects the progress bar and the Worker, as well as the progressProperty() method, which represents the page loading progress.
progress.progressProperty().bind(engine.getLoadWorker().progressProperty());
Output
Example 4: Reloading the page
To reload the JavaFX WebView content. You could use the WebEngine class’s reload() method.
@FXML
private void reload(ActionEvent event) {
    engine.reload();
}
Output
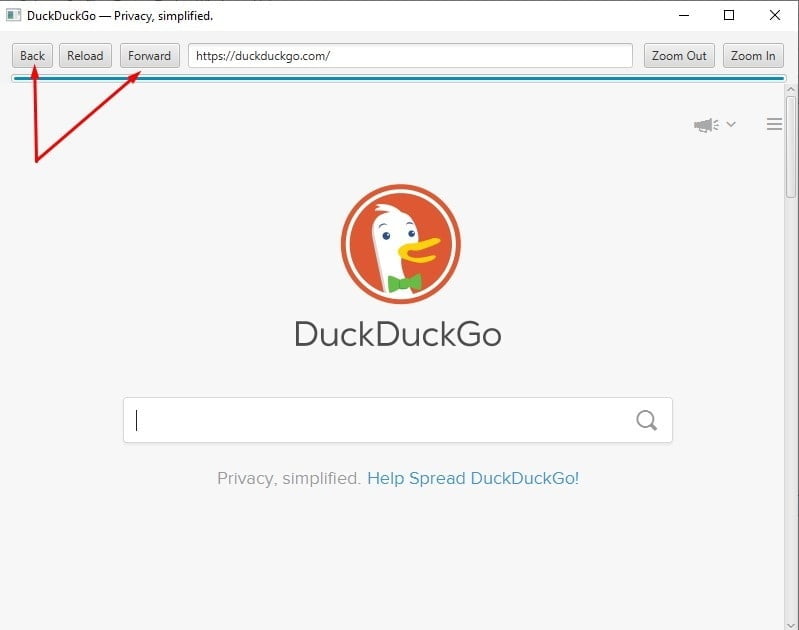
Example 5: Working on the Back and Forward Button
We will use the WebHistory class to go back and go forward. We will use the WebHistory class to go back and forward in time. The WebHistory class is used to navigate the WebEngine entry object to the location in the list of previously visited web pages.
// Forward button
@FXML
private void forward(ActionEvent event) {
    history = webview.getEngine().getHistory();
    history.go(1);
    ObservableList<WebHistory.Entry> entries = history.getEntries();
    txtFieldUrl.setText(entries.get(history.getCurrentIndex()).getUrl());
}

// Back Button
@FXML
private void back(ActionEvent event) {
    history = webview.getEngine().getHistory();
    history.go(-1);
    ObservableList<WebHistory.Entry> entries = history.getEntries();
    txtFieldUrl.setText(entries.get(history.getCurrentIndex()).getUrl());
}
Output
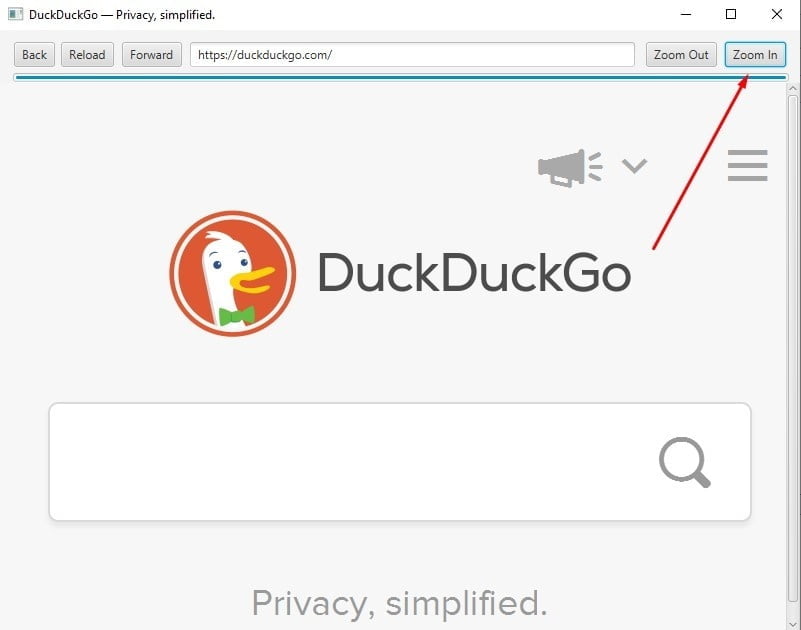
Example 6: Zoom In and Zoom Out
To code the zoom function in JavaFX Webview is very easy and simple, we will the zoom property and the zoom property uses double value number. Changinng this property affects the entire content in JavaFX WebView. Here, we are zooming 10 percent of the WebView in JavaFX
@FXML
private void zoomIn(ActionEvent event) {
    webview.setZoom(webview.getZoom() + 0.10);
}

@FXML
private void zoomOut(ActionEvent event) {
    webview.setZoom(webview.getZoom() - 0.10);
}
Output
Example 7: Set the page title at the stage title
We can use the WebEngine or WebHistory to get the current web page title. The WebEngine is the simplest way to get the page title; however, the WebHistory is more complex than the WebEngine. The code below shows how to get the current web page title by using the WebEngine and WebHistory.
engine.getLoadWorker().stateProperty().addListener((obs, oldValue, newValue) -> {
    if (newValue == Worker.State.SUCCEEDED) {
        System.out.println("Page has been loaded");

        // This is how to get the page title using the WebHistory
        history = webview.getEngine().getHistory();
        ObservableList<WebHistory.Entry> entries = history.getEntries();

        //Since I am using to controller, I am going to code this way to access the stage
        Stage stage = (Stage) txtFieldUrl.getScene().getWindow();

        //Don't use the two lines of code below at the same time on getting the page title

        //Using the WebHistory to get the page title
        stage.setTitle(entries.get(history.getCurrentIndex()).getTitle());

        //Using the WebEngine to get the page title
        stage.setTitle(webview.getEngine().getTitle());

    } else if (newValue == Worker.State.FAILED) {
        System.out.println("Loading failed");
    }
});
Output

Example 8: Set the URL at the textfield
We need the WebHistory class to get the page URL and set it on the Textfield. To get the page URL in JavaFX WebView, follow the example code below. Copy the code from Example 7 and add this code after getting the page title code.
txtFieldUrl.setText(entries.get(history.getCurrentIndex()).getUrl());
Output

YouTube Video